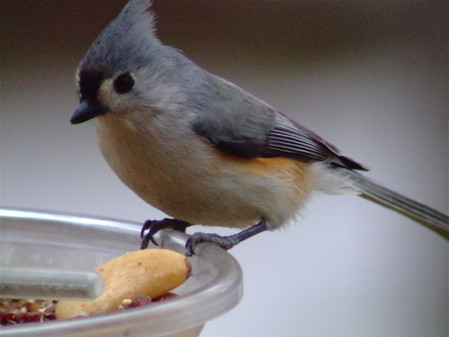
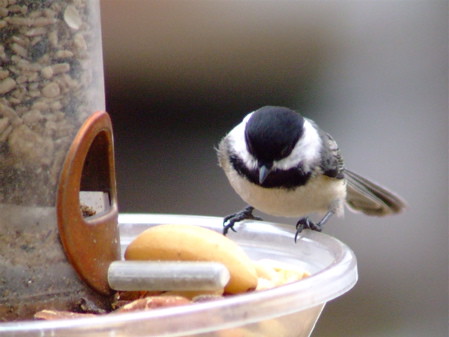
I'm starting this entry with the tufted titmouse photo above. Non Birding Bill really liked it (that's sayin' something). I set some mixed nuts in a tray of one of Mr. Neil's feeders and EVERYBODY flew in right away. The titmouse is contemplating the large Brazil nut. Look at the size of that food morsel! Alas, it is way to heavy for this mere titmouse to carry away in flight.
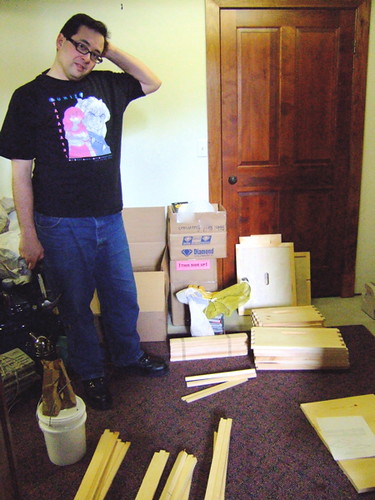
Today we decided to assemble our bee hives. The bees won't ship until late next month but that gives us plenty of time to prepare for their arrival. This gives me time to order anything that I discover is missing after assembly.
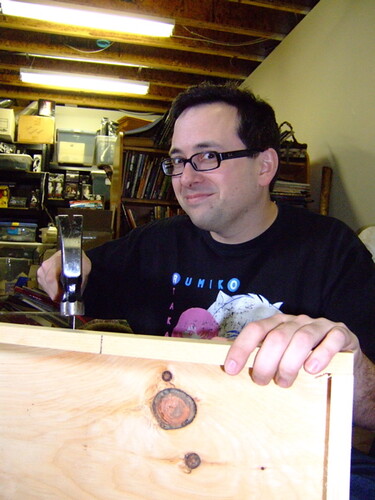
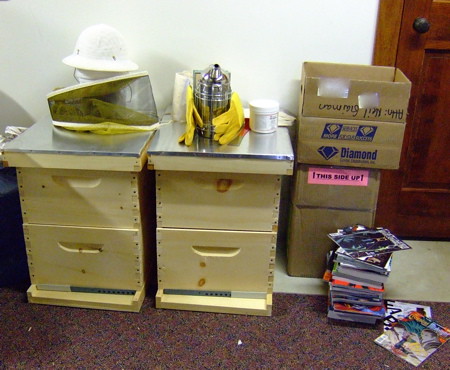
We were told that we are supposed to name our hives (with women's names) so NBB put together Olga...
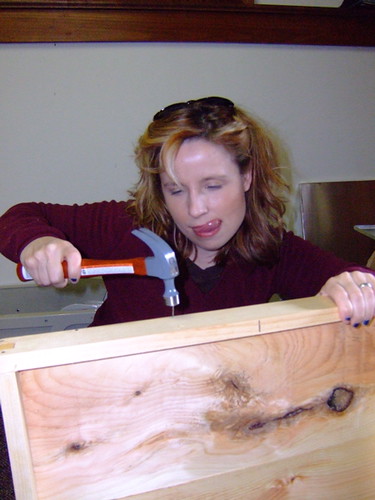
While I put together Miss Kitty. Some readers my recall that I was thinking of using screws, but thanks to Old Drone's assurances we went with nailing the hives together and he was right, it was easy. The wood was soft and many of the nails were small so I didn't have much chance to smash my fingers.
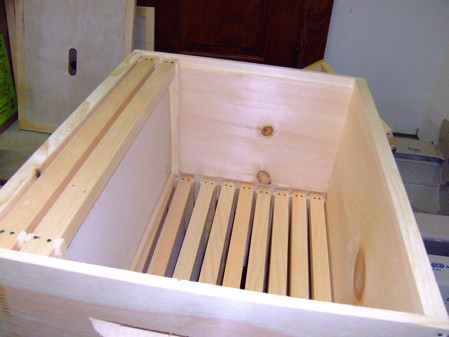
We had to put everything together: the boxes, the floor, the top, the individual frames where the bees will build the comb for larvae and honey--ten frames for each box! It was tiring. The wax in each frame is there to encourage the bees to build their comb in an easy to access form so I can check the hive and partake of the honey.
Between frames I did sneak away to watch the birds...
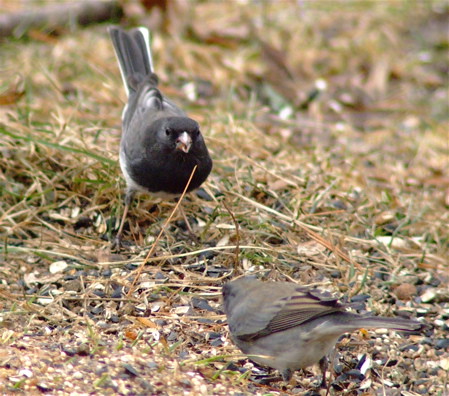
The juncos sure were frisky. Lots of chirping and chasing while feeding. You could see pin feathers on some of them, I'm sure molting in fresh feathers for the breeding season was bringing on a surge of hormones in them. I enjoy their mechanical twitters in early, early spring.
Another bird flies in to contemplate the Brazil nut. This black-capped chickadee gave it some serious thought, but instead went for half a pecan. A hairy woodpecker ended up flying away with the large prize nut.
We did finish both of our hives, and after assembly I realized that our starter kit only came with two brood boxes for each hive. The class that I took recommended that for over wintering bees in northern states that I should have a third brood box for each hive, so looks like I'll be doing a little ordering this week.
I have to admit, I was really not looking forward to assembling these, fearing it would be really complicated. I think this stems from having to assemble aluminum purple martin houses at the bird store. I hated those things! Don't get me wrong, I think aluminum martin houses can work well to attract martins, but assembling them is about as fun as stubbing all ten toes. You have to follow the directions EXACTLY and if you get something wrong at step five, you won't notice until step 487 when the roof won't line up with the box--and you have to take it apart and start over. Whereas with a bee hive, if you make a mistake or split the wood--the bees will just fill it with propolis.
Ah, martin house assembly is coming back to me now...ahhhh....I would always try to tell customers that it was important for them to assemble their own martin house so they could truly understand it and I also would lie and say how much fun it is to put together on a rainy Saturday afternoon.
Putting the hive together was much more simple and quite pleasant and I'm looking forward to assembling the third brood boxes.
Incidentally, if you're thinking of getting a purple martin house, get the plastic gourds, they are usually cheaper, are easy to snap together (if not already assembled at purchase), are more resistant to predators and save bird store employees (and you) hours of assembly grief.
